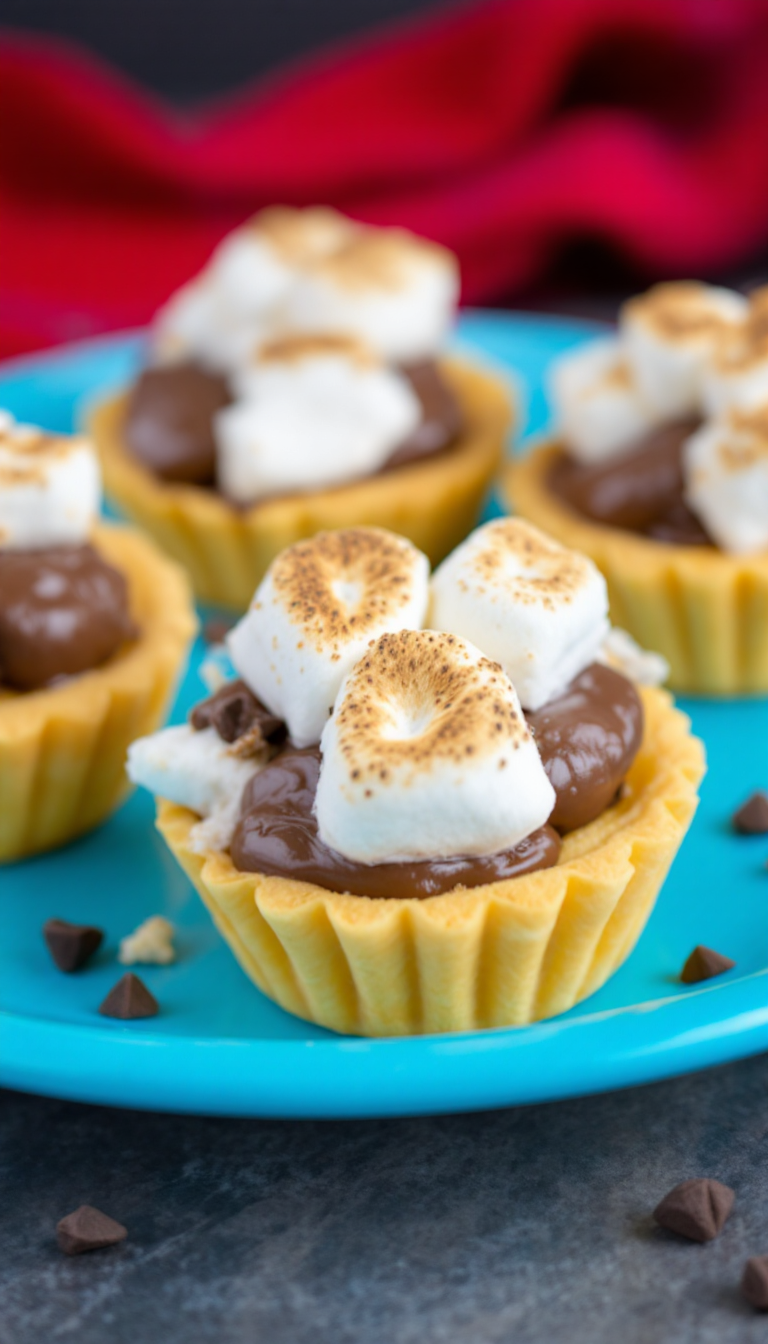
There’s something about s’mores that takes me back to those magical summer nights—campfire crackling, marshmallows melting, and chocolate everywhere. Now, imagine capturing that nostalgia in a gluten-free tartlet. It’s like biting into a mini campfire memory, but without the sticky fingers or smoke in your hair!
Cookbook Inspiration
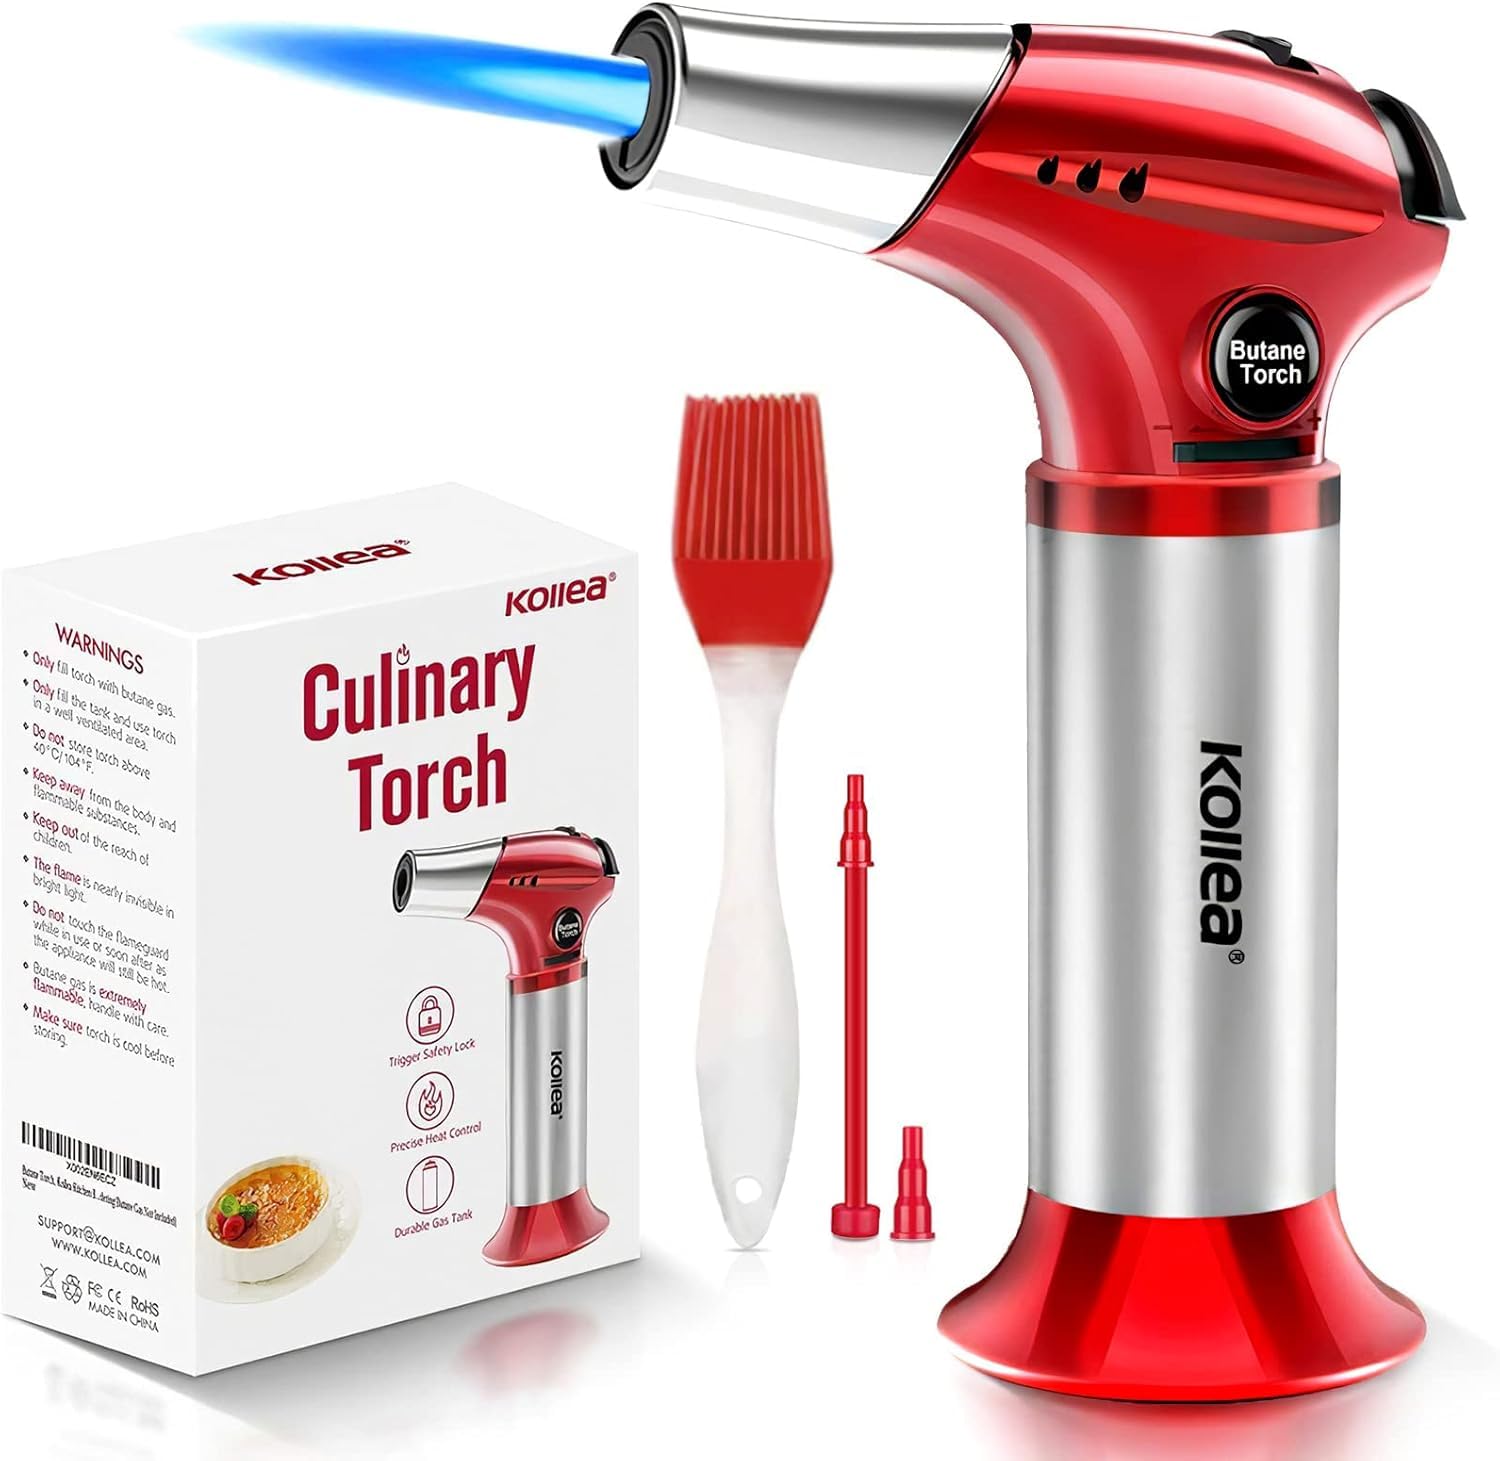
Gather the essential tools to prepare these delightful gluten-free s'mores tartlets with ease and confidence.
Steps
- Preheat your oven to 350°F and place liners in a mini muffin pan for 24 tartlets. Crush the gluten-free graham crackers into crumbs and mix them with brown sugar and melted butter until the mixture resembles coarse crumbs.
- Divide the crumb mixture evenly among the muffin liners, pressing firmly to form a crust. Bake these for about 10 minutes, then reduce the oven temperature to 325°F.
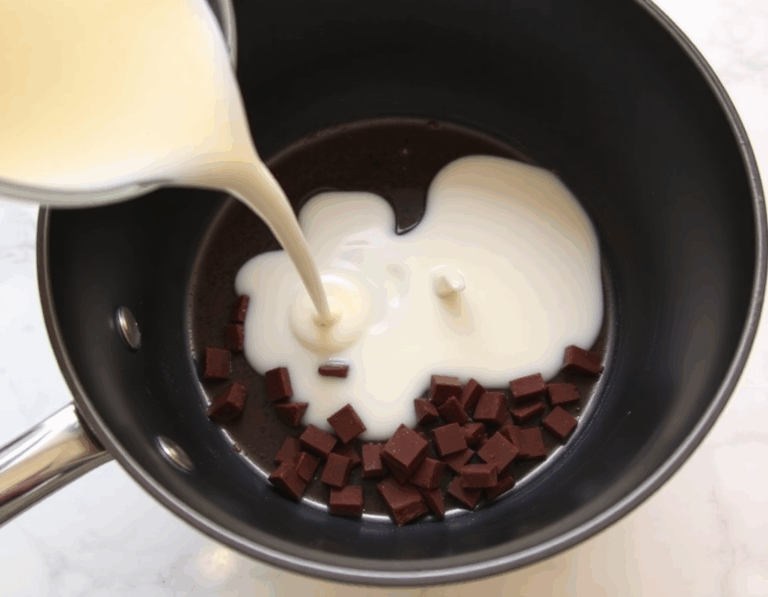
- For the chocolate filling, heat evaporated milk in a saucepan until it’s nearly boiling, then remove it from heat. Pour the hot milk over chopped chocolate, allowing it to melt, then whisk until smooth.
- In another bowl, beat the eggs thoroughly. Gradually whisk in the chocolate mixture to the eggs, a small amount at a time, to ensure the eggs do not cook.
- Fill the muffin liners with the chocolate mixture, nearly to the top. Bake for 10-12 minutes until set, then let them cool while you prepare the meringue.
- For the meringue, boil sugar and water in a saucepan until it turns amber. Meanwhile, whip egg whites and cream of tartar to form soft peaks.
- Slowly pour the hot sugar syrup into the whipped egg whites while continuing to whisk. Once the mixture is thick and glossy, mix in the vanilla.
- Use a piping bag to add meringue to the top of each tartlet. Lightly toast the meringue using a kitchen torch or broil for about 2 minutes, ensuring it doesn’t burn. Enjoy within 4 hours.
Ingredients
- 4 oz gluten-free or reduced-fat graham crackers
- 2 tablespoons dark brown sugar
- 3 tablespoons whipped unsalted butter
- 8 oz 60% chocolate, chopped
- 3/4 cup canned fat-free evaporated milk
- 2 large eggs
- 1/4 cup sugar
- 2 tablespoons water
- 1/4 cup egg whites (from 2 large eggs)
- 1/8 teaspoon cream of tartar
- 1/2 teaspoon vanilla extract
Nutritional Values
Calories: 1194 kcal | Carbohydrates: 162 g | Protein: 24 g | Fat: 60 g | Saturated Fat: 9 g | Cholesterol: 222 mg | Sodium: 666 mg | Fiber: 12 g | Sugar: 108 g
FAQ
- Can I make these tartlets ahead of time?
- Yes, you can prepare the cupcake portion a day in advance and then make the meringue the following day. This allows for easier planning and preparation.
- What can I use as a substitute for heavy cream in the chocolate filling?
- The recipe substitutes heavy cream with canned fat-free evaporated milk, which works well and reduces the calorie content.
- How do I prevent the eggs from scrambling when adding them to the chocolate mixture?
- To avoid scrambling the eggs, add the chocolate mixture to the beaten eggs gradually, about ¼ cup at a time, while whisking vigorously after each addition.
- How long can the tartlets be stored after preparation?
- It’s best to consume the tartlets within 4 hours after adding the meringue to ensure optimal freshness and texture.
- What should I do if I don’t have a torch for browning the meringue?
- If you don’t have a kitchen torch, you can place the tartlets under a broiler for about 2 minutes until the meringue is golden brown, but be careful not to burn them.
Tips
- Prepare in Stages: Consider making the tartlet bases a day in advance and then preparing the meringue the following day. This approach can help manage your time better and ensure each component is fresh and perfectly prepared.
- Prevent Egg Scrambling: When incorporating the chocolate mixture into the eggs, do so gradually. Add a small amount at a time and whisk vigorously to prevent the eggs from scrambling and ensure a smooth filling.
- Achieve Perfect Meringue: When making the meringue, ensure the sugar syrup reaches an amber color before incorporating it into the egg whites. Pour it slowly while continuing to whip to achieve a thick and glossy meringue.
- Use a Torch Carefully: If using a torch to brown the meringue, do so with caution to avoid burning. Alternatively, you can use the broiler setting in your oven for a couple of minutes, keeping a close eye to ensure it just reaches a golden hue.